
Hi!
If you been playing around with Raspberry Pi, I’m sure you already know this. For me this was a 1st timer, so I must write this down for the future myself.
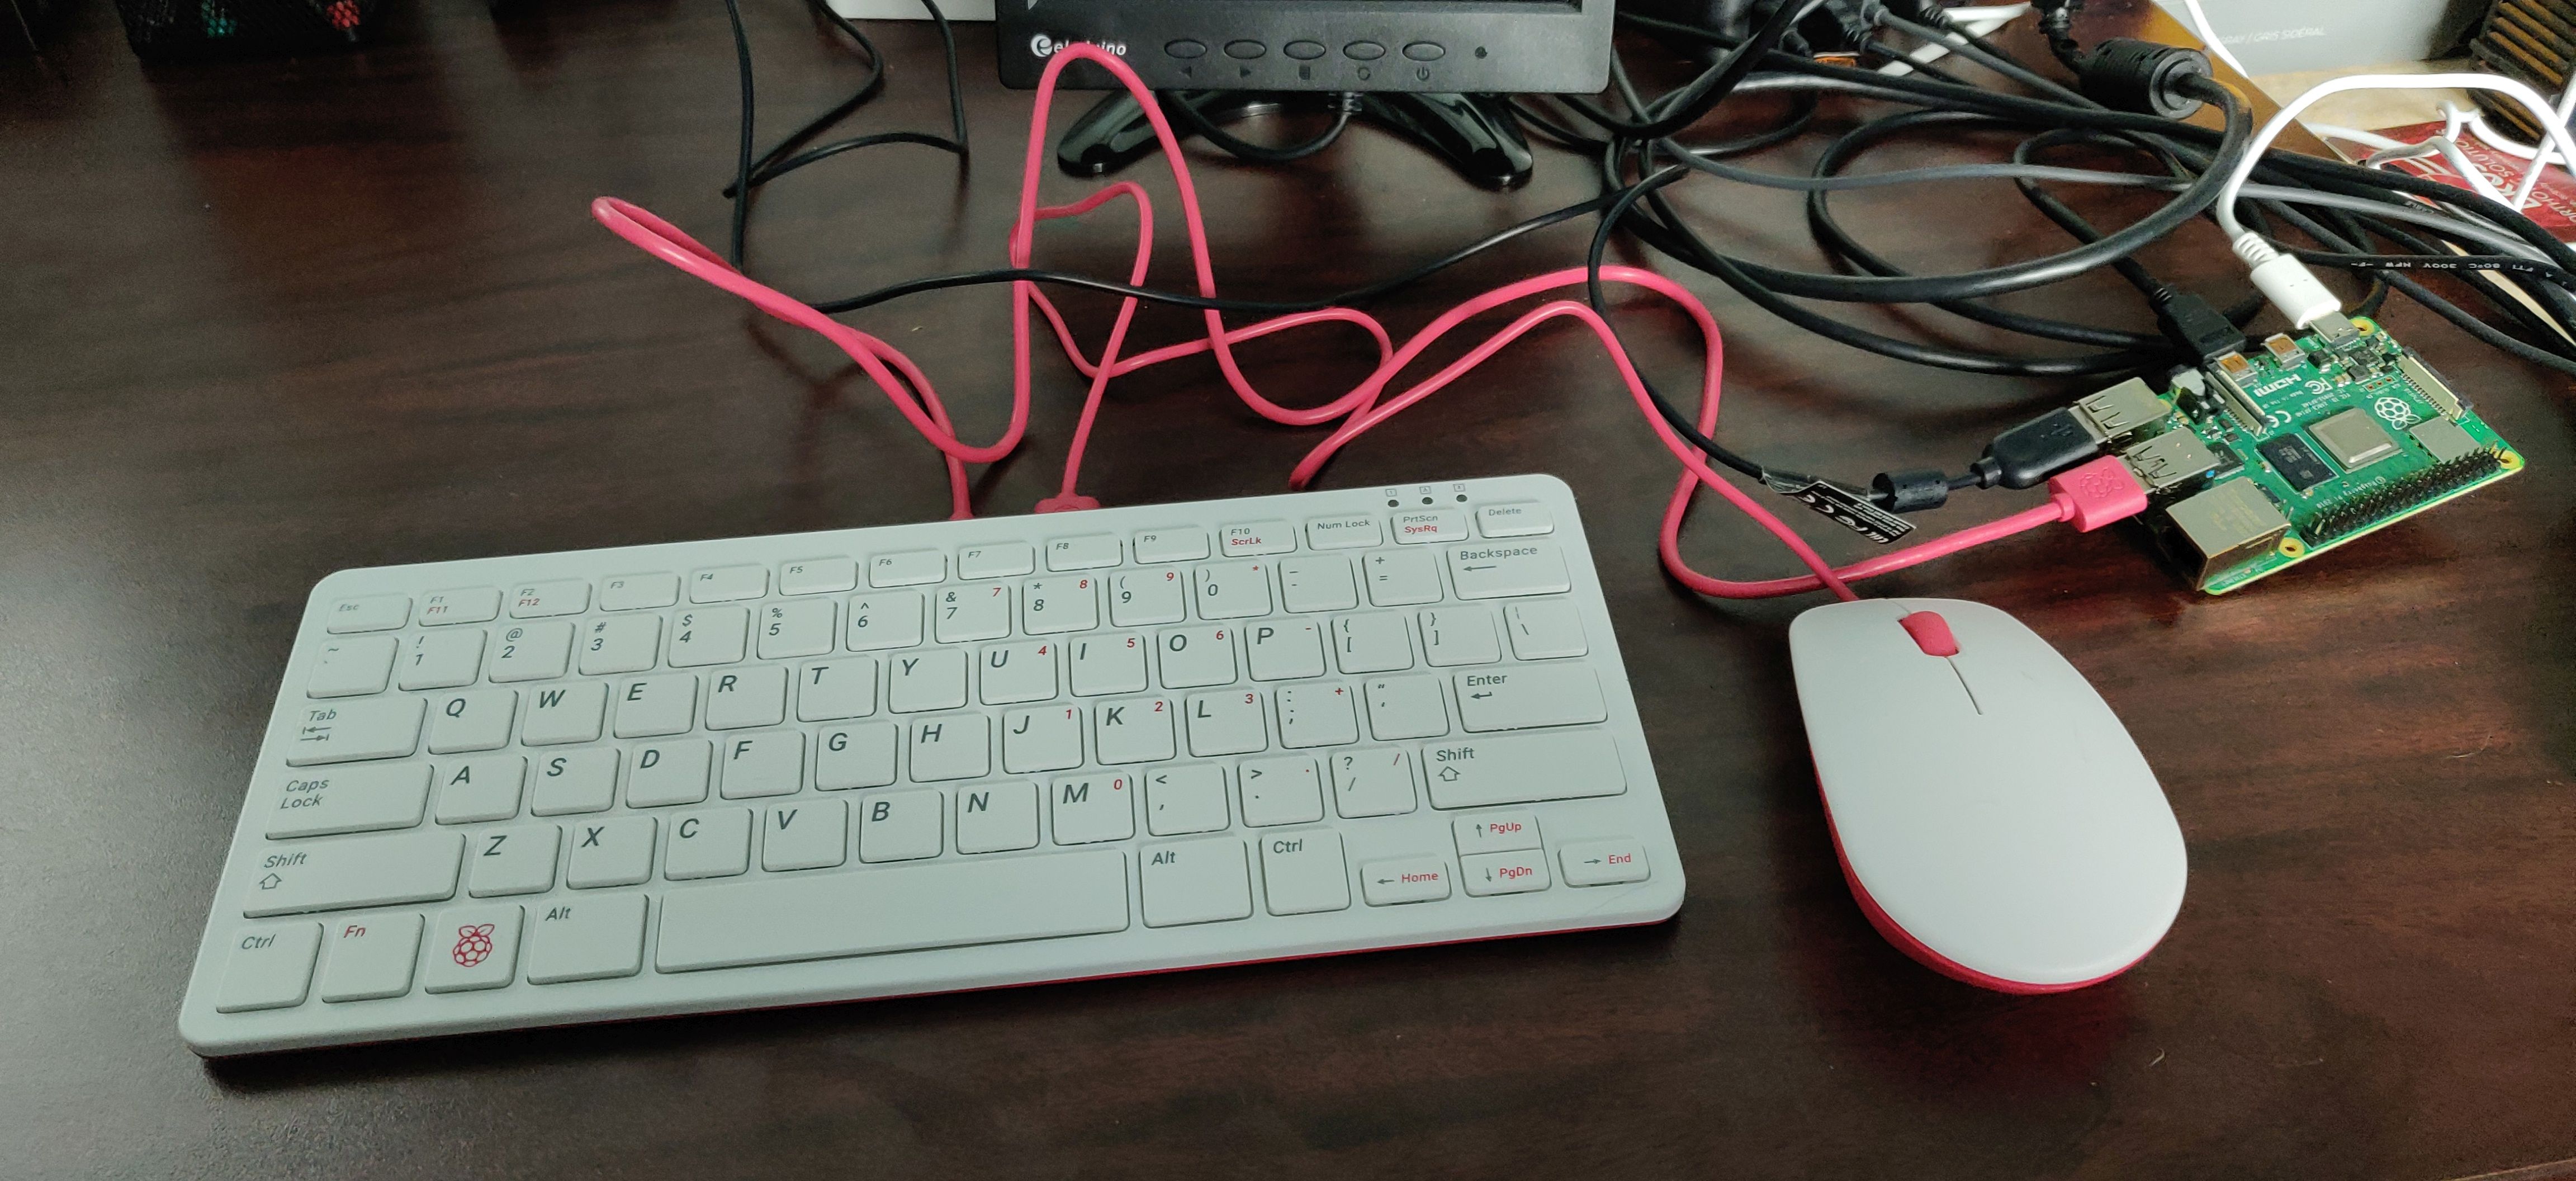
When I started testing the Raspberry Pi 4, I got one of the complete kits, so I got the official red keyboard and mouse.
I figure out I also need a couple of extra video cables. Now we need a [Micro HDMI to HDMI Cable] to connect one of the 2 video outputs to an external monitor.
This is the (cheap) monitor I’ve been using for a long time, however by default the RPi does works in a valid resolution for this monitor.

And, the 2 main tasks you perform when you start your RPI are
- Configure Wireless Connection
- Enable SSH
Of course, you can do this directly in the SD with the Raspbian image (see references). And it’s also very easy to do.
You need to create a file named [wpa_supplicant.conf] in the root of the SD card with the following information:
country=ca
update_config=1
ctrl_interface=/var/run/wpa_supplicant

network={
 scan_ssid=1
 ssid=" Your WiFi SSID"
 psk="You amazing password"
}
The file content is very straight forward to understand. Main values to complete are [ssid] and [psk]
Important: This only works the first time you boot the Raspberry Pi with the SD card. The SO search for [wpa_supplicant.conf] and performs the connection. If you already booted the device, you need to create a bootable SD card again.
If you also want to enable SSH, you need to create a blank file named [ssh] to the main partition.
And that’s it, your Raspberry Pi will be connected to the Wifi and with SSH enabled. At this moment we can use a tool like AngryIp (see references) to detect the new device in the network

My new device IP is: 10.184.1.231, so now I can use any SSH client (like Putty, see references) to connect to the device. As usual the default credentials are
- user: pi
- password: raspberry

You can now start working with your Raspberry Pi !
Of course, at this moment you should change your default password and update everything with a command like this one
sudo -- sh -c 'apt-get update; apt-get upgrade -y; apt-get dist-upgrade -y; apt-get autoremove -y; apt-get autoclean -y'
Happy coding!
Greetings @ Toronto
El Bruno
References
- Raspberry Pi, Download Raspbian https://www.raspberrypi.org/downloads/raspbian/
- Raspberry Pi, Installing the Image https://www.raspberrypi.org/documentation/installation/installing-images/README.md
- AngryIP https://angryip.org/
- PuTTY: a free SSH and Telnet client, https://www.chiark.greenend.org.uk/~sgtatham/putty/
My posts on Raspberry Pi ⚡🐲⚡
Dev posts for Raspberry Pi
- How to grant permissions to a folder after git clone, to perform dotnet restore on a Raspberry Pi
- How to install .Net Core 3.1 in a Raspberry Pi 4
- Installing Visual Studio Code in a Raspberry Pi 4, run as root, fix black screen
- How to install .Net Core in a Raspberry Pi 4 and test with Hello World
- Build and Run C# NetCore projects in a Raspberry Pi 4 with Visual Studio Code
- Let’s do some Git dev in Raspberry Pi 4 (GitHub and Azure DevOps!)
- Install OpenCV
- Install Python 🐍 Virtual Environments in Raspberry Pi
- Setup SSH passwordless access to remote work with Docker 🐳
- Manage Docker 🐳 as a non-root user
- Build Docker 🐳 images from Visual Studio Code remotely using a Raspberry Pi
Tools and Apps for Raspberry Pi
- Where is my Task Manager in RaspberryPi? Let’s try htop
- Multi-monitor 📺 in Raspberry Pi 4 rocks !
- Double Commander on RaspberryPi4, because files are important
- How to install Docker 🐳 in a Raspberry Pi 4
- Installing Visual Studio Code in a Raspberry Pi
- Installing Visual Studio Code in a Raspberry Pi, run as root, fix black screen (Updated)
- 6 commands to install OpenCV for Python 🐍 in a Raspberry Pi 4
Setup the device
- 1st Setup without monitor 📺: auto connect to WiFi 📶, enable SSH, update and more
- Setup without monitor: enable VNC
- How to enable auto start with HDMI safe mode
- Running a Python 🐍 script in a Python Virtual Environment on reboot / startup
- Setup Wifi on Ubuntu

Leave a comment