
Hi!
After some posts about how to setup a Raspberry Pi, today I’ll share the steps I follow to install OpenCV.
Disclaimer: if you are looking for a detailed step by step on how to install or even build OpenCV in a Raspberry Pi, I strongly recommend to read the post “Install OpenCV on Raspberry Pi 4” by Adrian Rosebrock.
Ok, so let’s start. I assume that you read my posts and your Raspbian image is up and running.
Install Python 3 and Update device
1st step will be to install Python 3 with the following command
sudo apt-get install python3-dev
And run and update for all the installed software
sudo -- sh -c 'apt-get update; apt-get upgrade -y; apt-get dist-upgrade -y; apt-get autoremove -y; apt-get autoclean -y'
Install and use Virtual Environments
This will give us the base image to start working. And, in case we need to install different versions or different apps, I’ll use virtual environments to work with Python.
Let’s install VirtualEnv with the command
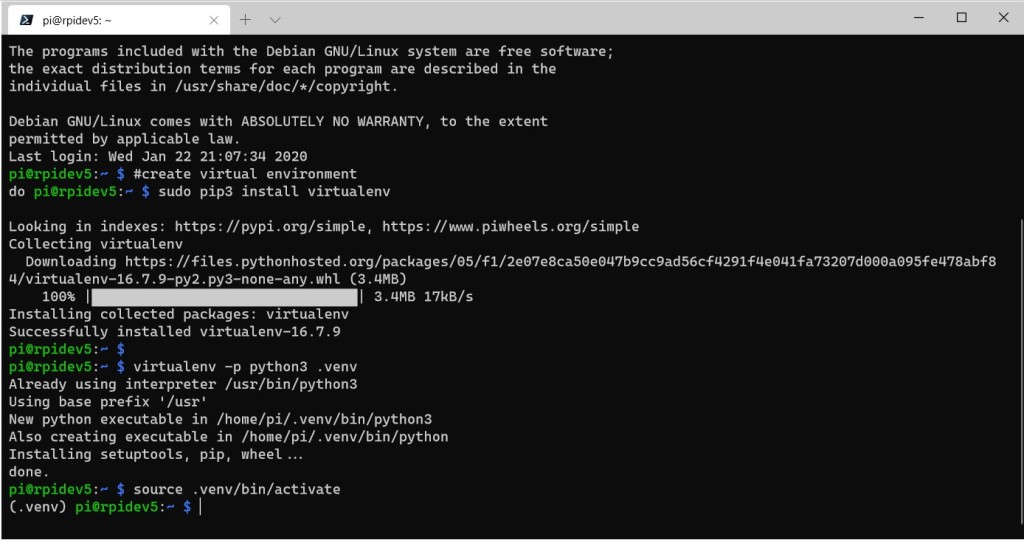
#create virtual environment
sudo pip3 install virtualenv
Now let’s create a new virtual environment named “venv” with the command
virtualenv -p python3 .venv
And let’s activate the environment with the command
source .venv/bin/activate
At this moment, the terminal should change and add a prefix (venv) in the bash.
Install prerequisites
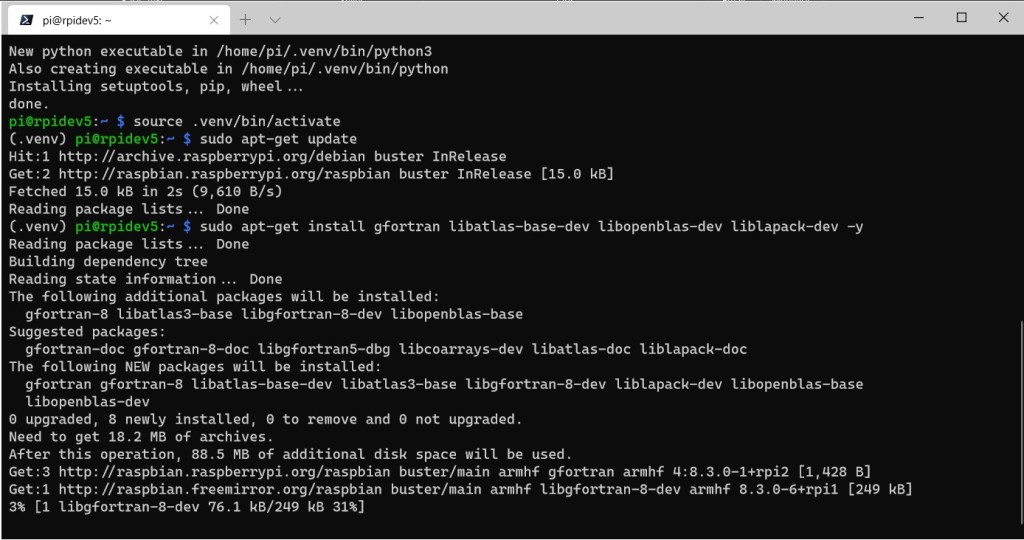
Let’s update again
sudo apt-get update
And install prerequisites with the commands
sudo apt-get install gfortran
sudo apt-get install libopenblas-dev
sudo apt-get install liblapack-dev
sudo apt-get install libatlas-base-dev
sudo apt-get install libjasper-dev
sudo apt-get install libqtgui4
sudo apt-get install python3-pyqt5
sudo apt-get install libqt4-test
or in a single command
sudo apt-get install gfortran libopenblas-dev liblapack-dev libatlas-base-dev libjasper-dev libqtgui4 python3-pyqt5 libqt4-test -y
This process will take some minutes, so this is time 1 to get a coffee!
Install OpenCV and switch to right Raspberry Pi version!
And now the magic command to install OpenCV
sudo apt-get install libopencv-dev
And this process is the one who take most of the time, so coffee number 2. Take a look at all the dependencies for this

And after a couple of minutes the process is done. We can test the OpenCV version running 2 simple python commands. First let’s start python with the command
python
And then run the following lines
import cv2
cv2.__version__
This should display the current OpenCV version.
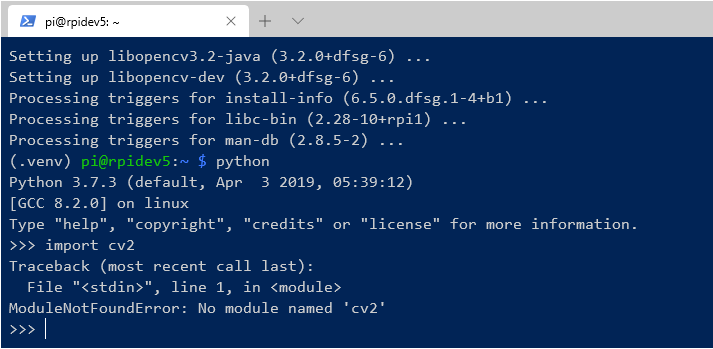
However, with the latest version we have an error: ModuleNotFoundError: No module named ‘cv2’
The current installed version have some issues running in the raspberry py, so we need to make a downgrade to the version 4.1.0.25 with the command. We first uninstall the installed version (4.1.0.26) and install the specific version.
pip uninstall opencv-contrib
pip install opencv-contrib-python==4.1.0.25
Now, we launch python again, run our 2 lines, and we got OpenCV up and running!

Bonus: Installed Packages
Finally, this is the current list of packages installed in the virtual environments and the version of each package
(.venv) pi@rpidev5:~ $ pip3 list
Package               Version
--------------------- --------
numpy                 1.18.1
opencv-contrib-python 4.1.0.25
pip                   20.0.1
setuptools            45.1.0
wheel                 0.33.6
(.venv) pi@rpidev5:~ $

Happy coding!
Greetings
El Bruno
More posts in my blog ElBruno.com.
More info in https://beacons.ai/elbruno
References
- Raspberry Pi, Download Raspbian https://www.raspberrypi.org/downloads/raspbian/
- Raspberry Pi, Installing the Image https://www.raspberrypi.org/documentation/installation/installing-images/README.md
- AngryIP https://angryip.org/
My posts on Raspberry Pi ⚡🐲⚡
Dev posts for Raspberry Pi
- How to grant permissions to a folder after git clone, to perform dotnet restore on a Raspberry Pi
- How to install .Net Core 3.1 in a Raspberry Pi 4
- Installing Visual Studio Code in a Raspberry Pi 4, run as root, fix black screen
- How to install .Net Core in a Raspberry Pi 4 and test with Hello World
- Build and Run C# NetCore projects in a Raspberry Pi 4 with Visual Studio Code
- Let’s do some Git dev in Raspberry Pi 4 (GitHub and Azure DevOps!)
- Install OpenCV
- Install Python 🐍 Virtual Environments in Raspberry Pi
- Setup SSH passwordless access to remote work with Docker 🐳
- Manage Docker 🐳 as a non-root user
- Build Docker 🐳 images from Visual Studio Code remotely using a Raspberry Pi
Tools and Apps for Raspberry Pi
- Where is my Task Manager in RaspberryPi? Let’s try htop
- Multi-monitor 📺 in Raspberry Pi 4 rocks !
- Double Commander on RaspberryPi4, because files are important
- How to install Docker 🐳 in a Raspberry Pi 4
- Installing Visual Studio Code in a Raspberry Pi
- Installing Visual Studio Code in a Raspberry Pi, run as root, fix black screen (Updated)
- 6 commands to install OpenCV for Python 🐍 in a Raspberry Pi 4
Setup the device
- 1st Setup without monitor 📺: auto connect to WiFi 📶, enable SSH, update and more
- Setup without monitor: enable VNC
- How to enable auto start with HDMI safe mode
- Running a Python 🐍 script in a Python Virtual Environment on reboot / startup
- Setup Wifi on Ubuntu

Leave a comment