Hello!
Let’s move on with the Intel Galileo series of posts:
- [GALILEO] HowTo: Perform a firmware update to an Intel Galileo
- [GALILEO] HowTo: install Intel Galileo drivers in Windows10
- [GALILEO] HowTo: Create a SD bootable to work on Intel Galileo and VisualStudio
- [GALILEO] Connecting Windows10 and Intel Galileo
- [#GALILEO] HowTo: Configure credentials in #Windows10 to access the Intel Galileo as a network resource
In today’s post I’ll create a basic “hello world” for Intel Galileo. As usual with this boards, this sample is try to make the LED in pin 13 to Blink 😉
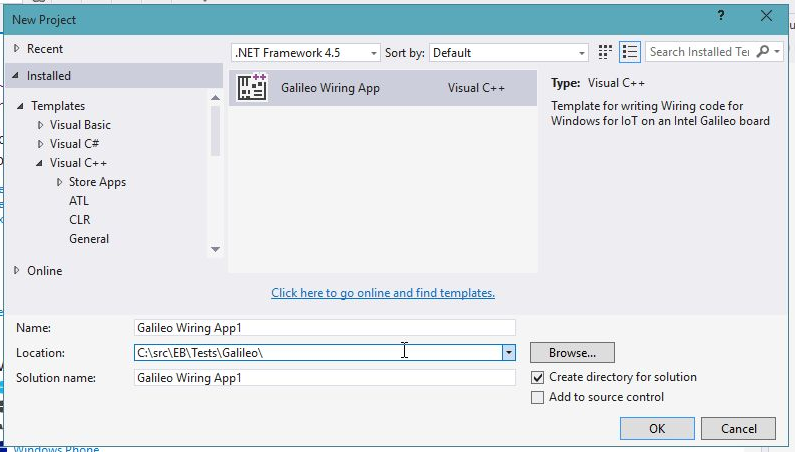
So, we open Visual Studio 2013 and create a new project “Visual C++ \\ Windows for IoT \\ Galileo Wiring App”
Once the project is created, it already has inside all the stuff to make the led bonk. However, before we try to deploy this app, a nice check is good to validate if everything is fine.
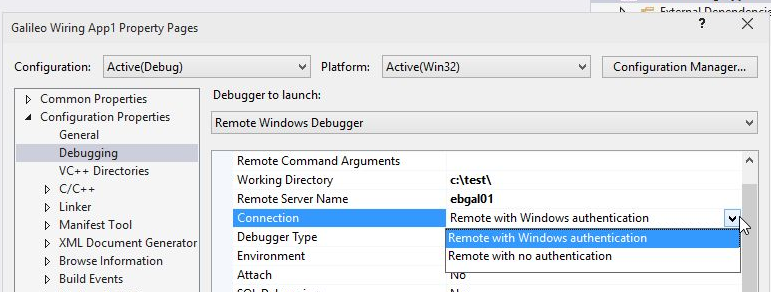
Visual Studio will try to connect and deploy the compiled app, so a couple of configurations are required. In the projcet properties, the value for Remote Server Name, must be replaces with the name of the device (you can also put here the device IP Address). You can also check the [Working Directory] property, it defines the location where VS will deploy / copy the compiled app.
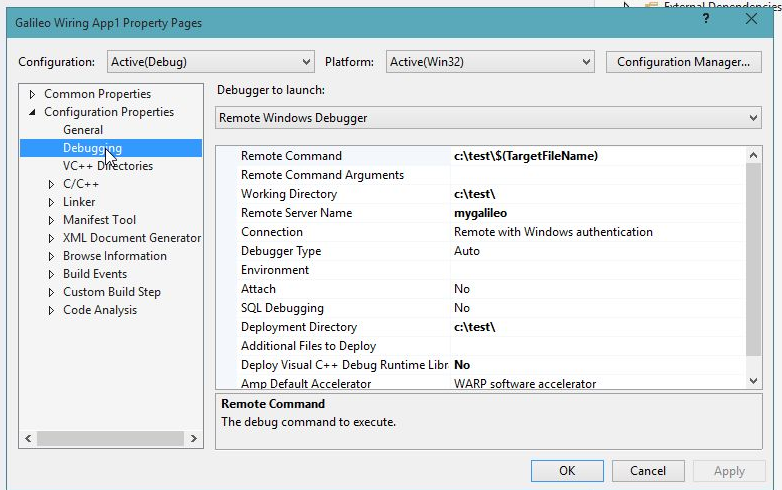
Now let’s move to security. By default Windows authentication is defined. Unless you create a bootable SD with no authentication, do not change this one.
When you start the deploy, VS will ask for user and password.

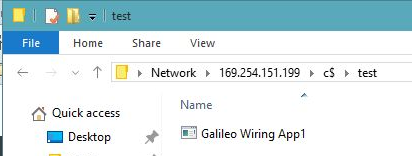
And once you put all correct values, you can access the remote file system of the device, and you will see the deplooyed app in the directory [C.\Temp\] .
Saludos @ Home
/El Bruno

Leave a comment