Hi!
Azure IoT Central is one of the amazing services we can use on Azure. I was wondering how easy is to use a Raspberry Pi using Raspbian and Azure IoT and here is my experience.
Let’s assume we had a device up to date using Raspbian, our next step will be to create an Azure IoT Central application. The official step by step is the main resource for this
Create an
Azure IoT Central application (see references)
Once we have our application, we can quickly create a new Raspberry Pi device and use it. However, I’ll do an extra step, lessons learned as a handsome developer
Create a Device Template
Go to [Device Templates] and create a new template

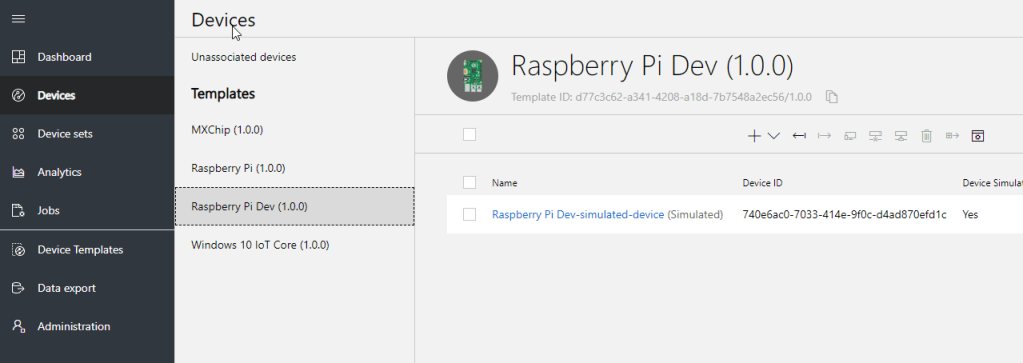
For Raspberry Pi, I’ll name this [Raspberry Pi Dev]

So now, I can add a new real device, in the Devices section from the left menu
Once you create a new real device, is important to copy and save for later the connection information. To access this, go to the top right [Connect] button

Almost there, there is an official tutorial that explain how to send random telemetry information with a Python script in a Raspberry Pi. I’ll use it as base for this scenario.
Connect a
Raspberry Pi to your Azure IoT Central application (Python) (see references)
For this demo, I’ll add a custom telemetry property and a custom event to the device. Since I won’t use the device to track temperature, accelerometer, and more, I think it make sense to track some custom information.
So, I’ll go back to my Device Template definition and I’ll add a new Telemetry, named [t1], with the following information.

And now, I can run a custom version of my script that will send new telemetry information, for [t1]. Sample in line 18
After a couple of minutes running the sample script, I can see the telemetry information for T1. In this view, I enabled [Temperature] and [T1] to display the timeline.

And, next step will be to add an event, which is also a very important uses case in Azure IoT. Back in the Device Template, I add a new event named [event1]

And added some extra lines of code to send also an event between telemetry, Line 22
In the following image, we can see how the events appears in the timeline, and we can also get some extra details clicking on each event.

Very cool! Next steps will be to integrate this with some image recognition scenarios.
Happy Coding!
Greetings @ Burlington
El Bruno
References
- Create an Azure IoT Central application https://docs.microsoft.com/en-us/azure/iot-central/quick-deploy-iot-central
- Connect a Raspberry Pi to your Azure IoT Central application (Python) https://docs.microsoft.com/en-us/azure/iot-central/howto-connect-raspberry-pi-python

Leave a comment