⚠️ This blog post was created with the help of AI tools. Yes, I used a bit of magic from language models to organize my thoughts and automate the boring parts, but the geeky fun and the 🤖 in C# are 100% mine.
Hi!
Part 1 of the CopilotHarness series

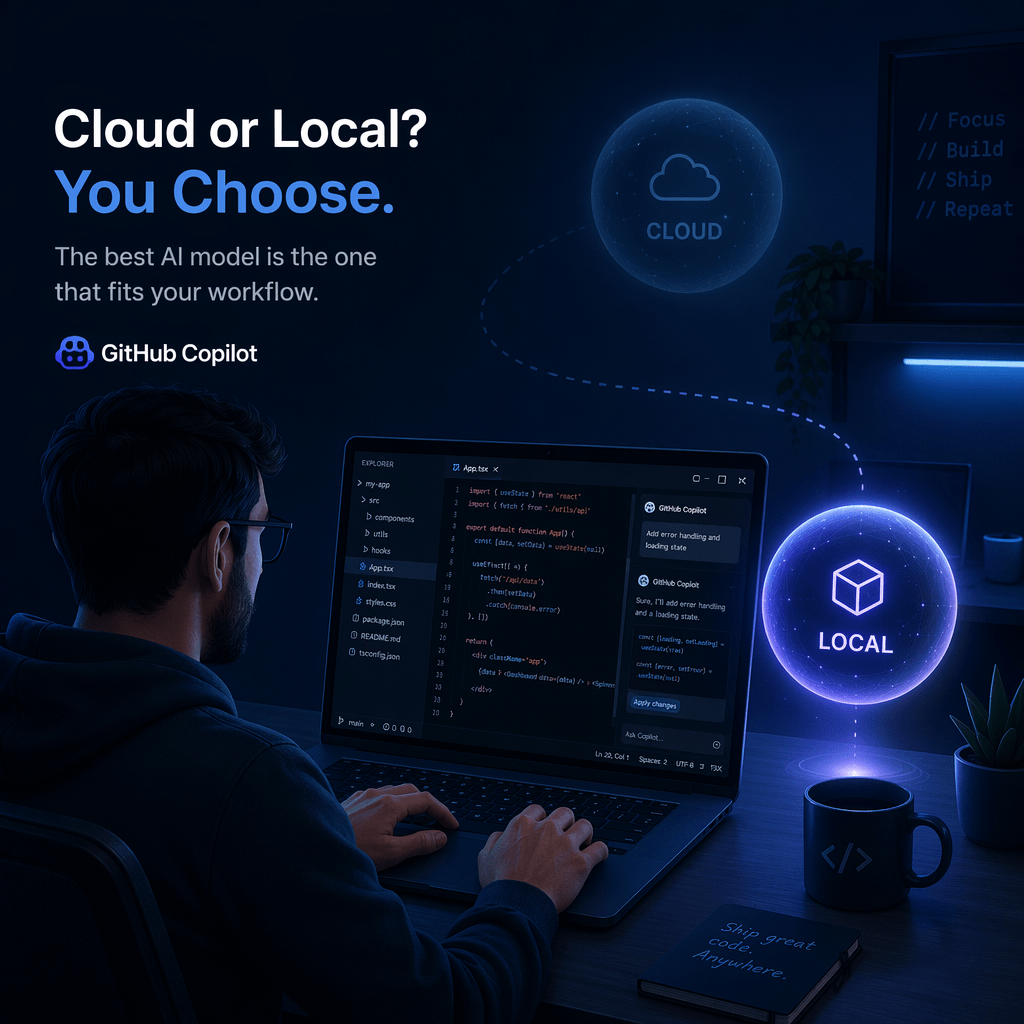
Big models are great for heavy thinking. But what about simple questions — “rename this variable”, “write a short docstring”, “what does this function do”? Those don’t need GPT-5 across the internet. They can be answered instantly by a model running on your own machine, offline, for free.
This post shows you how to wire GitHub Copilot in VS Code to local models using three minimal proxies — one for Ollama, one for Foundry Local, one for Azure OpenAI — and how to run all three together with a single command.
1. How BYOK Works in VS Code
VS Code Copilot supports a Bring Your Own Model mechanism. You register any OpenAI-compatible endpoint in a config file, and Copilot treats it as just another model in the picker — no extension, no plugin.
Official docs: Bring your own model to GitHub Copilot Chat
The config lives in a file called chatLanguageModels.json in your VS Code user folder:
{
  "providers": [
    {
      "name": "Ollama (local)",
      "vendor": "customendpoint",
      "url": "http://localhost:5099/v1",
      "modelId": "llama3.1:8b",
      "chatModelId": "copilot-chat-model"
    }
  ]
}
That's it — point url at any OpenAI-compatible endpoint, give it a name, and it appears in Copilot's model picker.

2. The Three Proxy Flavors
A local model provider isn’t always OpenAI-compatible out of the box. Each proxy in this repo acts as a thin translation layer — it speaks OpenAI on one side and the local backend on the other.

| Proxy | Port | Backend | Best for |
|---|---|---|---|
| OllamaProxy | 5099 | Ollama (local) | Quickest start, huge model catalog |
| FoundryLocalProxy | 5101 | Foundry Local SDK (offline, NPU) | Offline/air-gapped, hardware acceleration |
| FoundryProxy | 5100 | Azure OpenAI / Foundry cloud | Production-grade, secret-managed cloud models |
Each proxy is a single ASP.NET Core Minimal API file — no frameworks, no abstractions. The entire proxy fits on one screen. That’s intentional: these are teaching samples, not production middleware.
3. The Shared Secret: Unwrapping Copilot’s Envelope
Here’s something most developers don’t know: when GitHub Copilot Chat sends “hi”, it doesn’t send just "hi". It sends this:
<attachments>...file contents...</attachments>
<context>...editor state...</context>
<reminderInstructions>...workspace instructions...</reminderInstructions>
<userRequest>hi</userRequest>
The actual message is buried inside <userRequest>. A proxy that naively reads the last user message sees ~3 KB of boilerplate instead of the word "hi".
All three proxies share one class — CopilotMessageExtractor — that unwraps this envelope. It lives in the shared Proxies.Common library:
// The key method — finds <userRequest>...</userRequest> and returns its content.
// Falls back gracefully for non-Copilot clients (curl, SDK) that send plain text.
public static string ExtractTypedUserMessage(string rawUserMessage)
{
    // Look for <userRequest> first (VS Code Copilot always uses this)
    var userRequest = ExtractTagContent(rawUserMessage, "userRequest")
                   ?? ExtractTagContent(rawUserMessage, "user-request");

    if (!string.IsNullOrWhiteSpace(userRequest))
        return userRequest.Trim();

    // No tag — strip all known wrapper blocks and return what's left
    var stripped = rawUserMessage;
    foreach (var tag in CopilotWrapperTags)
        stripped = RemoveTagBlock(stripped, tag);

    // If stripping removed everything, fall back to the raw message
    // (this path is hit for plain curl/SDK clients — they send plain text)
    return string.IsNullOrWhiteSpace(stripped.Trim())
        ? rawUserMessage.Trim()
        : stripped.Trim();
}
This class is why the proxies work correctly with both Copilot Chat and direct API calls. The logging in each proxy shows the real ask — not the 3 KB envelope.
4. OllamaProxy — 5 Minutes to Your First Local Model
Pre-requisite: Ollama running with at least one model pulled.
# Pull a model
ollama pull llama3.1:8b

# Start the proxy
cd src/proxies/OllamaProxy
dotnet run
# → http://localhost:5099
The proxy auto-discovers your installed Ollama models and passes the model ID through. Add it to VS Code:
// chatLanguageModels.json  (Windows: %APPDATA%\Code\User\)
{
  "providers": [
    {
      "name": "Ollama — llama3.1:8b",
      "vendor": "customendpoint",
      "url": "http://localhost:5099/v1",
      "modelId": "llama3.1:8b",
      "chatModelId": "copilot-chat-model"
    }
  ]
}
Verify it’s running:
curl http://localhost:5099/health
# → {"status":"ok","backend":"ollama","models":["llama3.1:8b",...]}

5. FoundryLocalProxy — Offline + NPU Inference
Microsoft Foundry Local runs models fully offline using the ONNX Runtime with hardware acceleration (CPU, GPU, NPU on Windows).
No pre-requisites — the SDK downloads the model on first run and caches it locally.
cd src/proxies/FoundryLocalProxy
dotnet run
# First run: downloads phi-4-mini (~2.5 GB) automatically
# → http://localhost:5101
The Models page in the test app shows which models are cached, lets you load/unload (frees GPU RAM instantly), and delete models from disk:

💡 Tip: Use the Models page to download a model before chatting with it. If you send a chat request to an unloaded model, you get a clear error explaining the model needs to be loaded first — not a cryptic 500.
Add it to VS Code alongside Ollama — Copilot lets you pick which model to use per conversation:
{
  "name": "Foundry Local — phi-4-mini",
  "vendor": "customendpoint",
  "url": "http://localhost:5101/v1",
  "modelId": "phi-4-mini",
  "chatModelId": "copilot-chat-model"
}
6. FoundryProxy — Azure OpenAI with Proper Secret Management
For cloud models, FoundryProxy uses .NET User Secrets so your API key never touches the repo.
cd src/proxies/FoundryProxy

# Store credentials locally (never committed to git)
dotnet user-secrets set "Foundry:Endpoint"   "https://your-resource.openai.azure.com"
dotnet user-secrets set "Foundry:ApiKey"     "your-key"
dotnet user-secrets set "Foundry:Deployment" "gpt-4o-mini"

dotnet run
# → http://localhost:5100
7. All Three Together — One Command with Aspire
The fastest way to run everything is via the .NET Aspire CLI. One command starts all three proxies, the Blazor test app, and the Aspire dashboard with logs, traces, and health checks:
cd src/proxies
aspire start
What starts:
| Service | URL | What it is |
|---|---|---|
ollama-proxy | http://localhost:5099 | OllamaProxy |
foundry-proxy | http://localhost:5100 | FoundryProxy |
foundry-local-proxy | http://localhost:5101 | FoundryLocalProxy |
proxies-test-app | http://localhost:5102 | Blazor test UI |
| Aspire dashboard | printed in console | Logs, traces, health for all services |
Requires Aspire CLI:
dotnet workload install aspire
The Blazor test app at http://localhost:5102 gives you a browser UI to test all three proxies without writing any code:

 traces for every request, including custom
 LlmActivity spans with prompt text, model ID, token counts, and latency. You can see exactly what Copilot sent and what the model returned.


To stop everything:
aspire stop
8. Wire It to VS Code Copilot
The /setup page at http://localhost:5102/setup generates the exact chatLanguageModels.json snippet for each running proxy, with the correct port and model ID. Copy and paste into your VS Code user config folder:

- Windows:
%APPDATA%\Code\User\chatLanguageModels.json - macOS:
~/Library/Application Support/Code/User/chatLanguageModels.json - Linux:
~/.config/Code/User/chatLanguageModels.json
After saving, reload VS Code. Open Copilot Chat, click the model picker, and your local models appear alongside the built-in cloud models.
💡 Shortcut: If you have the CopilotHarness CLI tool installed, running
harness initwrites this file automatically.
9. What’s Next — Smart Routing
The proxies shown here are static: you pick a model manually per conversation. The next level is automatic routing — where every Copilot request is analyzed and sent to the best model automatically.
“Is this a simple rename? → local llama3.1:8b. Is this a complex architecture question? → cloud GPT-5. Is this about GitHub Actions? → a specialist agent.”
That’s what the full CopilotHarness router does — policy-based routing with semantic matching, local classifiers, and per-request telemetry. Part 2 of this series walks through building and using it.
Repo: github.com/elbruno/ElBruno.CopilotHarness
Quick Reference
| Goal | Command |
|---|---|
| Start just Ollama proxy | cd src/proxies/OllamaProxy && dotnet run |
| Start all three + test UI | cd src/proxies && aspire start |
| Stop all | aspire stop |
| Generate VS Code config | Open http://localhost:5102/setup |
| View traces | Open Aspire dashboard URL printed in console |
| Manage Foundry Local models | Open http://localhost:5102/models |
| Test proxy health | curl http://localhost:5099/health |
This is Part 1 of the CopilotHarness series.
Next: Part 2 — Smart Routing: Sending Each Request to the Right Model Automatically
Code: github.com/elbruno/ElBruno.CopilotHarness/tree/main/src/proxies
Happy coding!
Greetings
El Bruno
More posts in my blog ElBruno.com.
More info in https://beacons.ai/elbruno

Leave a comment