Hi !
In my previous post I wrote about how to create a custom dataset with images to be used on a Azure Machine Learning Designer project. Today I’ll share the steps to use it.
Let’s start by creating a project based on the “Image Classification using DenseNet” template.

Next step is to select the compute instance we want to use in this Pipeline

Let’s delete the original animal datasource and add the newly created squirrel dataset.
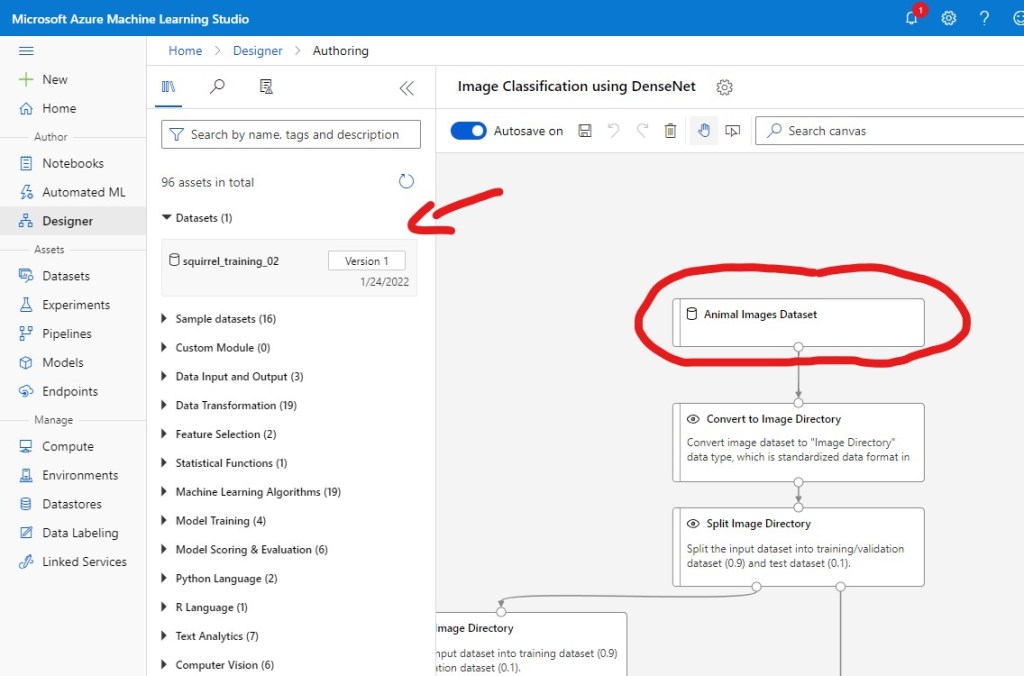
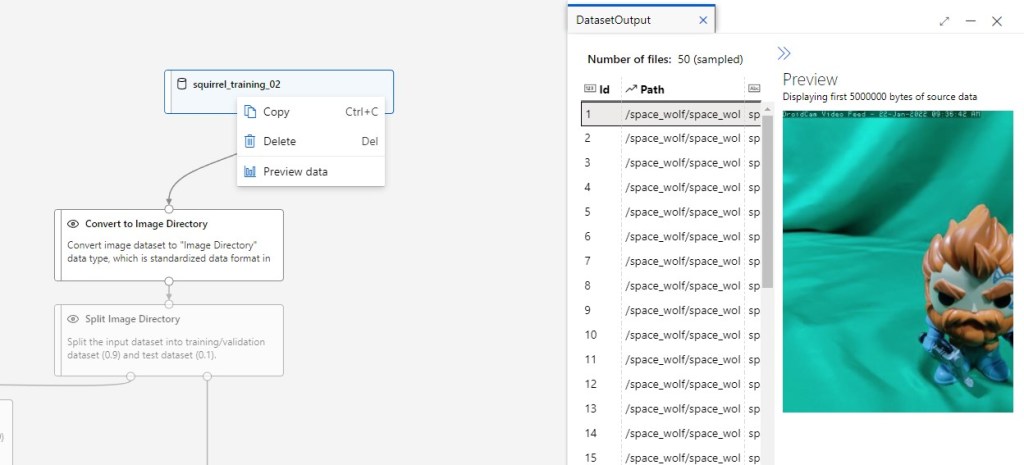
Connect the new dataset with the [Convert to Image Directory] asset. To double check that we have the right contents, right-click on the Dataset asset and select [Preview Data], a list with the first 50 elements must appear on the preview window.
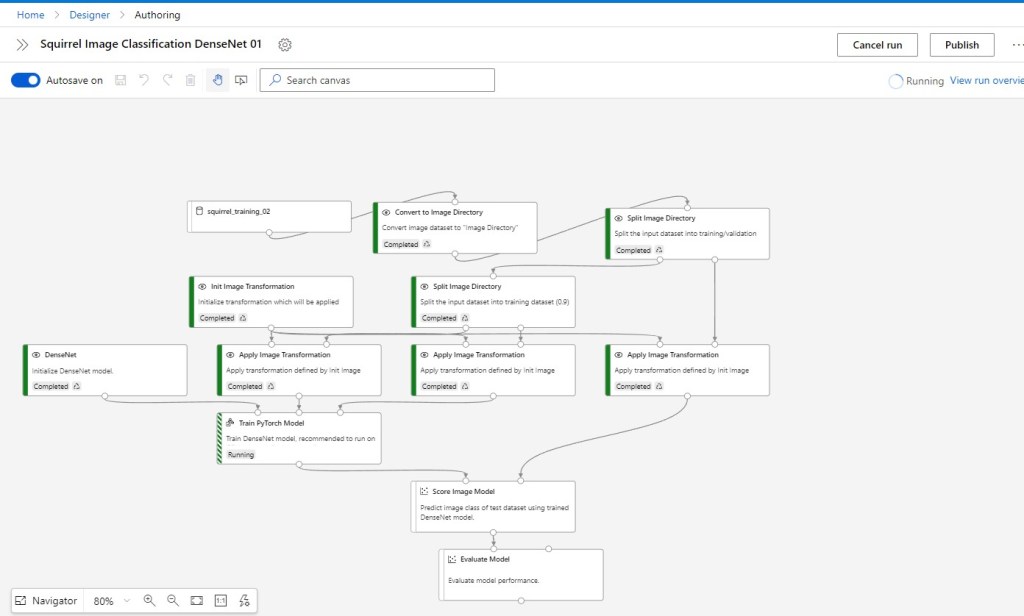
Now we can run the model. This may take a couple of minutes, so time for check twitter 😀
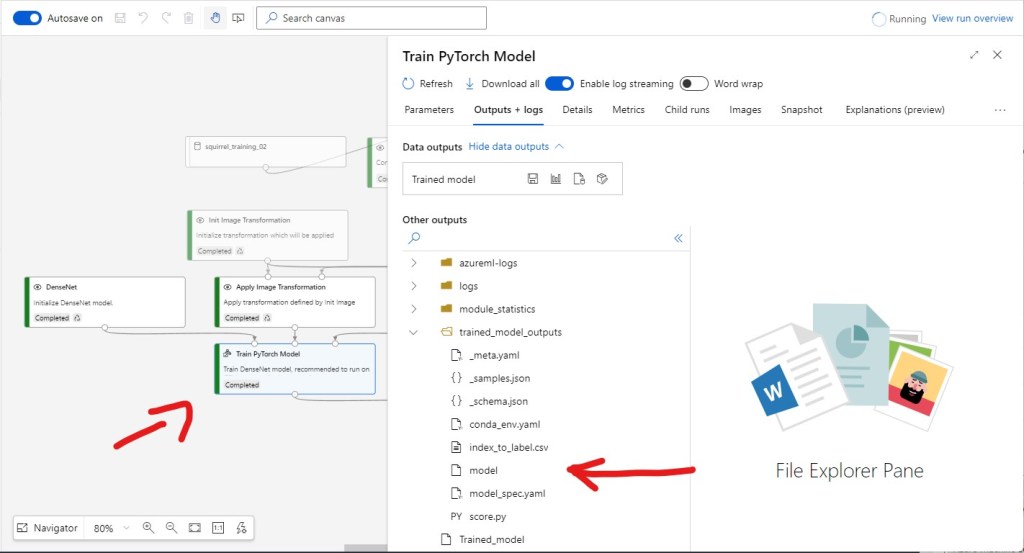
Once the pipeline run is done, we can check the score and metrics of the trained model. And, this is important for my online sessions, we can also download the trained model. Click on the [Train PyTorch Model] asset, select [Output and Logs] in the preview window, and we can download the file!
Tomorrow I’ll show how to create a HTTP Rest Endpoint to consume the generated model.
Happy coding!
Greetings
El Bruno
More posts in my blog ElBruno.com.
More info in https://beacons.ai/elbruno

¿Con ganas de ponerte al día?
En Lemoncode te ofrecemos formación online impartida por profesionales que se baten el cobre en consultoría:
- Si tienes ganas de ponerte al día con Front End (ES6, Typescript, React, Angular, Vuejs…) te recomendamos nuestros Máster Front End: https://lemoncode.net/master-frontend#inicio-banner
- Si te quieres poner al día en Backend (stacks .net y nodejs), te aconsejamos nuestro Bootcamp Backend: https://lemoncode.net/bootcamp-backend#bootcamp-backend/banner
- Y si tienes ganas de meterte con Docker, Kubernetes, CI/CD…, tenemos nuestro Bootcamp Devops: https://lemoncode.net/bootcamp-devops#bootcamp-devops/inicio

Leave a comment