
Hi !
It’s time to setup a Raspberry Pi so my kid can learn a little Python with some local projects at home. And, it’s also time to test one super cool tool from the Raspberry Pi family: Raspberry Pi Imager, a new tool to image microSD cards with Raspbian.
Until today, I mostly used Balena Etcher, and it works amazing. However let’s give this one a try.
First step is to download the tool from the official Download page (see references). Lucky for us, we have the application with versions for Windows, macOS and Ubuntu. The install process is very fast.

Now we launch the app, and select the OS to install.

This time Raspbian is the one for me. I really like the chance to have other SOs here to select
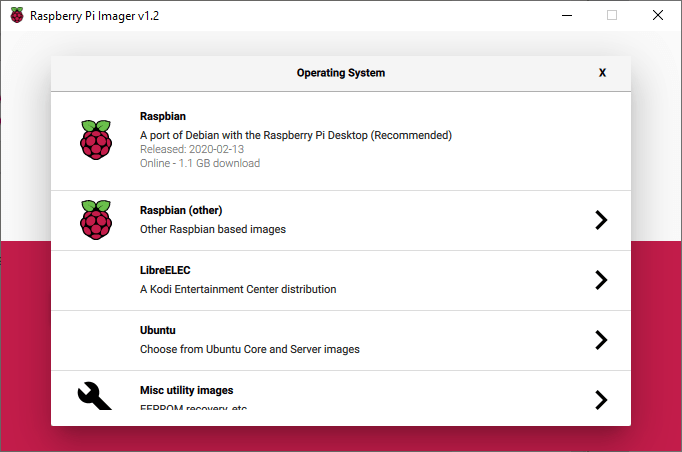
And, I will go even further and select the full version of Raspbian.

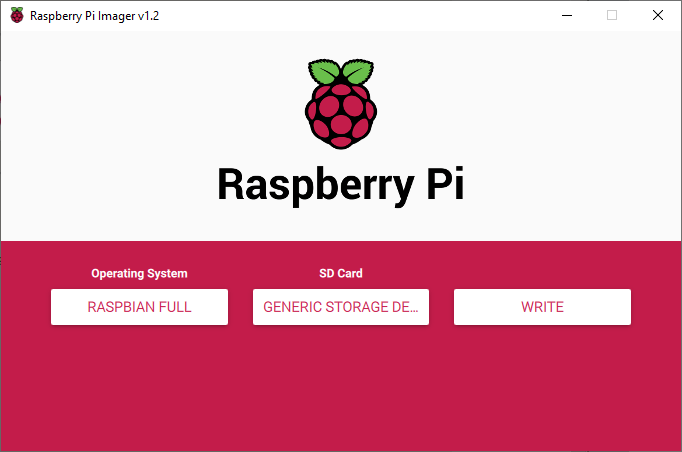
Next step, is to select the target microSD Card, Device. F: for me.

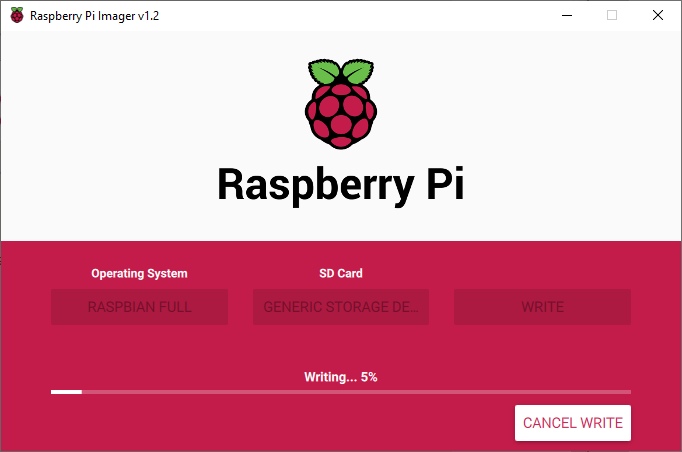
Now we are ready to write the image to the SD Card.
Important: depending the selected image, writing process may take some time. The Full Raspbian version is +2.5GB and it needs to be downloaded in chunks. before starting the write process.
As usual, after writing, let’s verify !

A couple of minutes later, the process is done !

Bonus
And a couple of notes as a bonus. The tool is open source, and this is great! (see references). And, a video is much better than my posts !
Happy coding!
Greetings
El Bruno
More posts in my blog ElBruno.com.
More info in https://beacons.ai/elbruno
References

Leave a comment