Hi !
Today let’s review another started project, this scenario is to use a grove servo motor with Wio Terminal. We will review the code created with PlatformIO Labs in Visual Studio Code.
The app is very simple
When user press button A the servo motor will rotate to 0 degress and when user press button B the servo motot will rotate to 90 degress.
The full source code is available here.
Let’s start with a couple of notes.
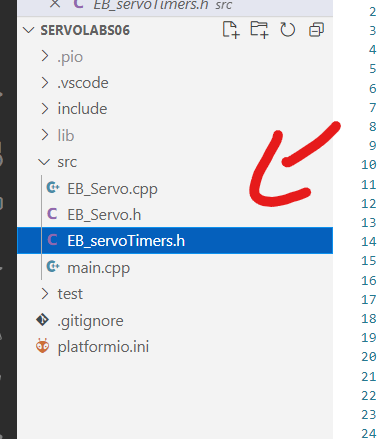
- I adapted the original Arduno servo files to work in this demo.
- EB_Servo.cpp
- EB_Servo.h
- EB_servoTimers.h
- The setup() function will initialize buttons and the servo on the right grove port.
void setup()
{
  Serial.begin(9600);

  // Init servo
  myservo.attach(D0); // working on right grove port
  myservo.write(servoClosed);

  // init buttons
  Serial.println("Init buttons");
  pinMode(WIO_KEY_A, INPUT_PULLUP);
  pinMode(WIO_KEY_B, INPUT_PULLUP);
  pinMode(WIO_KEY_C, INPUT_PULLUP);

  delay(1000);
}
- On the loop() based on the pressed button, the app will change the current servo motor position.
void loop()
{
  // validate buttons
  if (digitalRead(WIO_KEY_A) == LOW)
  {
    Serial.println("[A] OPEN");
    servoPos = servoOpen;
  }
  if (digitalRead(WIO_KEY_B) == LOW)
  {
    Serial.println("[B] CLOSED ");
    servoPos = servoClosed;
  }
  if (digitalRead(WIO_KEY_C) == LOW)
  {
    Serial.println("[C] DEBUG ");
  }

  Serial.print("Servo Pos: ");
  Serial.println(servoPos);
  myservo.write(servoPos);

  delay(3000);
}
And that’s it ! A cool servo motor controlled using the Wio Terminal buttons.
Happy coding!
Greetings
El Bruno
More posts in my blog ElBruno.com.
More info in https://beacons.ai/elbruno

Leave a comment