Windows 10 and YOLOV2 for Object Detection Series
- Introduction to YoloV2 for object detection
- Create a basic Windows10 App and use YoloV2 in the camera for object detection
- Transform YoloV2 output analysis to C# classes and display them in frames
- Resize YoloV2 output to support multiple formats and process and display frames per second
- How to convert Tiny-YoloV3 model in CoreML format to ONNX and use it in a Windows 10 App
Hi!
In today’s post I’ll share some experience on how to download the latest version of Tiny-YoloV3 and use it in the UWP App that I created in previous posts. Important, the Tiny-YoloV2 model I’ve used in previous posts was in Onnx format, and it was downloaded from Azure AI Gallery.
We can download Tiny-YoloV3 from the official site, however I will work with a version that is already compiled in CoreML format, CoreML format is usually used in iOS apps (see References).
Well, to convert the model of CoreML To Onnx, we will use Visual Studio Tools For Ai. And the next set of software
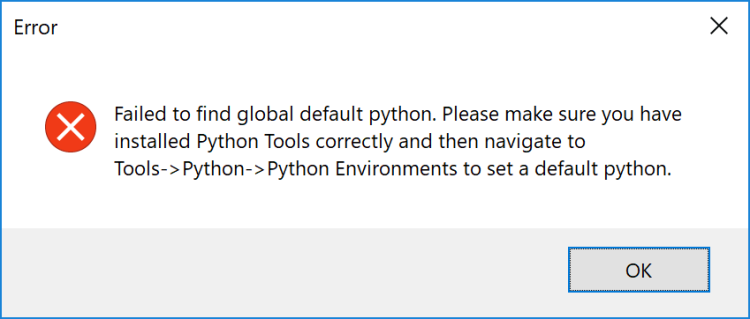
Once all the software is installed, we can follow the step by step of [Ai Converting Models To ONNX] to convert our model. However, the road is not as simple as it seems. The 1st thing we can find are errors like the following
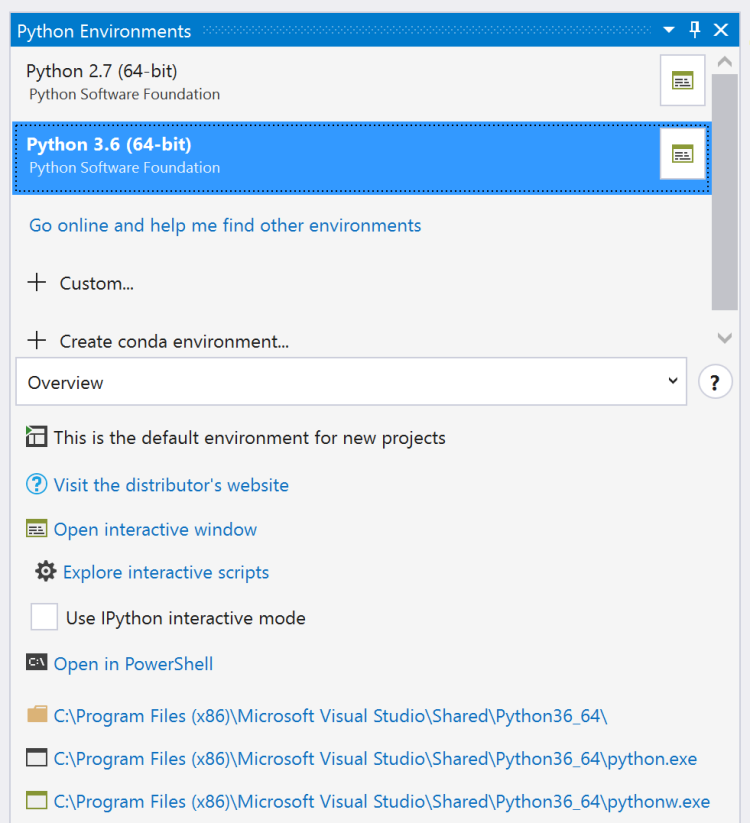
Problems with Python, in my case had several versions of Python installed, but the IDE had no marked as [Default]. From the panel [Pythin Environments] You can fix this
Next Problem I need some configuration on my part, it was related to Prerequisites for conversion. It all starts with [Missing Package WinMLTools]
—————————
Error
—————————
Missing package WinMLTools, please check details in output window.
—————————
OK
—————————
Traceback (most recent call last):
File “C:\Users\<Bruno>\AppData\Local\Microsoft\VisualStudio\15.0_e5344afb\Extensions\kzqekf1z.44v\RuntimeSDK\model\model_converter_cli.py”, line 76, in check_winmltools_installed
import winmltools
ModuleNotFoundError: No module named ‘winmltools’
However After Of Investigate for a while, these are the 2 Packages I need to install
Microsoft ML Tool (winmltools)
pip3 install winmltools==0.1.0.5072
CoreML Tools
pip3 install “git+https://github.com/apple/coremltools@v0.8”
As always, 1st thing to do is update Python

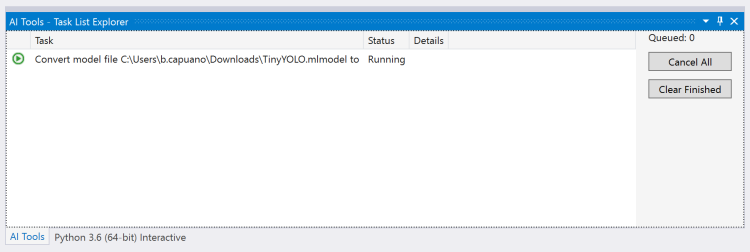
And now we can launch the conversion operation again
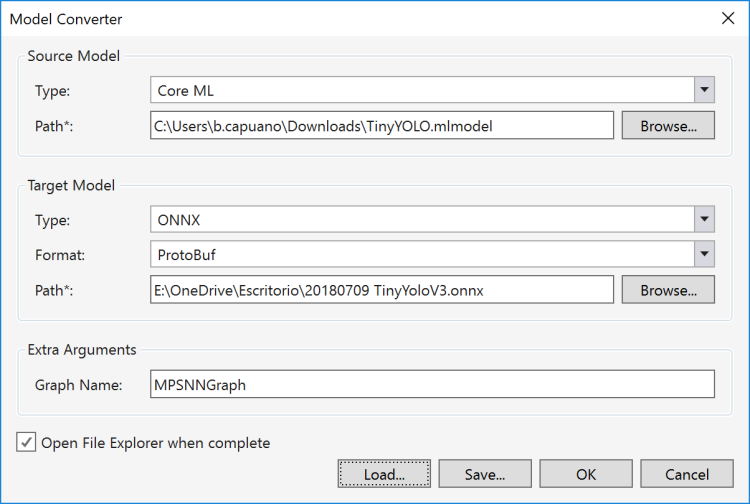
And a few seconds later we already have our Tiny-YoloV3 in format Onnx
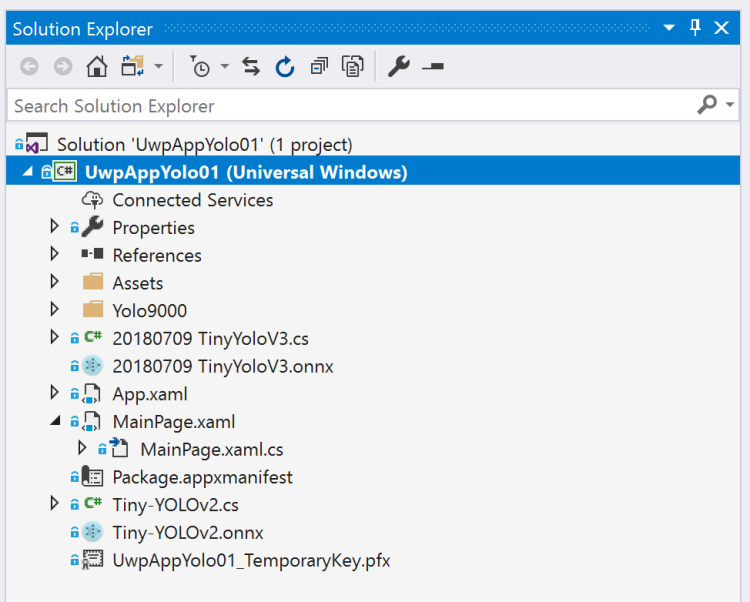
Because the model respects the Input/Output of the previous version, we only have to replace the file in our solution. I have added the new Onnx Just to have a little more control over the example.
As I have always updated the complete example in GitHub
https://github.com/elbruno/Blog/tree/master/20180709%20UwpMLNet%20TinyYoloV3
Happy Coding!
Greetings @ Toronto
El Bruno
References
- YOLOCoreML-MPSNNGraph
- VS Tools for AI Converting Models to ONNX
- YOLO: Real-time object detection
- YOLO9000: Better, Faster, Stronger by Joseph Redmon and Ali Farhadi (2016)
- ONNX Tools
- Azure AI Gallery, Tiny YOLO V2
- El Bruno, Windows Community Toolkit V 3.0 makes life incredibly easy if you need working with the camera in a UWP App
- Visual Studio Marketplace, Visual Studio Tools for AI
- Real-time object detection with YOLO
- Rene Schulte GitHub
- Sevans4067 WinML-TinyYolo

Great post! Could you share where did you get the CoreML version of Tiny YOLO v3? Is it the VOC version, or the COCO version?
LikeLiked by 1 person
Hi Zhao
yes of course, source https://github.com/hollance/YOLO-CoreML-MPSNNGraph
Regards
-Bruno
LikeLike
Thanks for the link, but this tiny yolo model is actually version 2, not version 3.
LikeLike
Sorry, I pasted the wrong one.
I’ve downloaded everything from https://github.com/AlexeyAB/darknet
I’ve followed the steps from the section [How to train tiny-yolo], I’ll double check the file I’ve used and I’ll try to write my experience here.
I’m not a ML tech guy, so at this point my experience is kind of messy to share 😀
Regards
-Bruno
LikeLike
There is an available yolov3 onnx model now : https://github.com/onnx/models/tree/master/yolov3 !
LikeLike